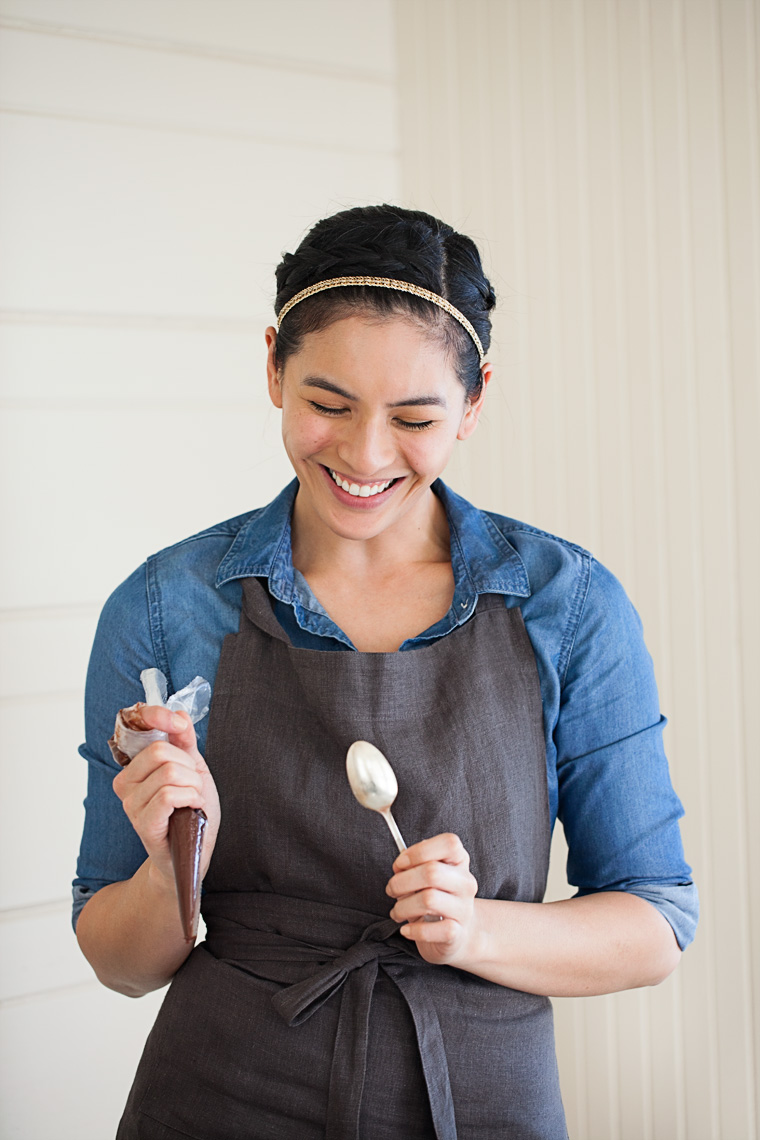
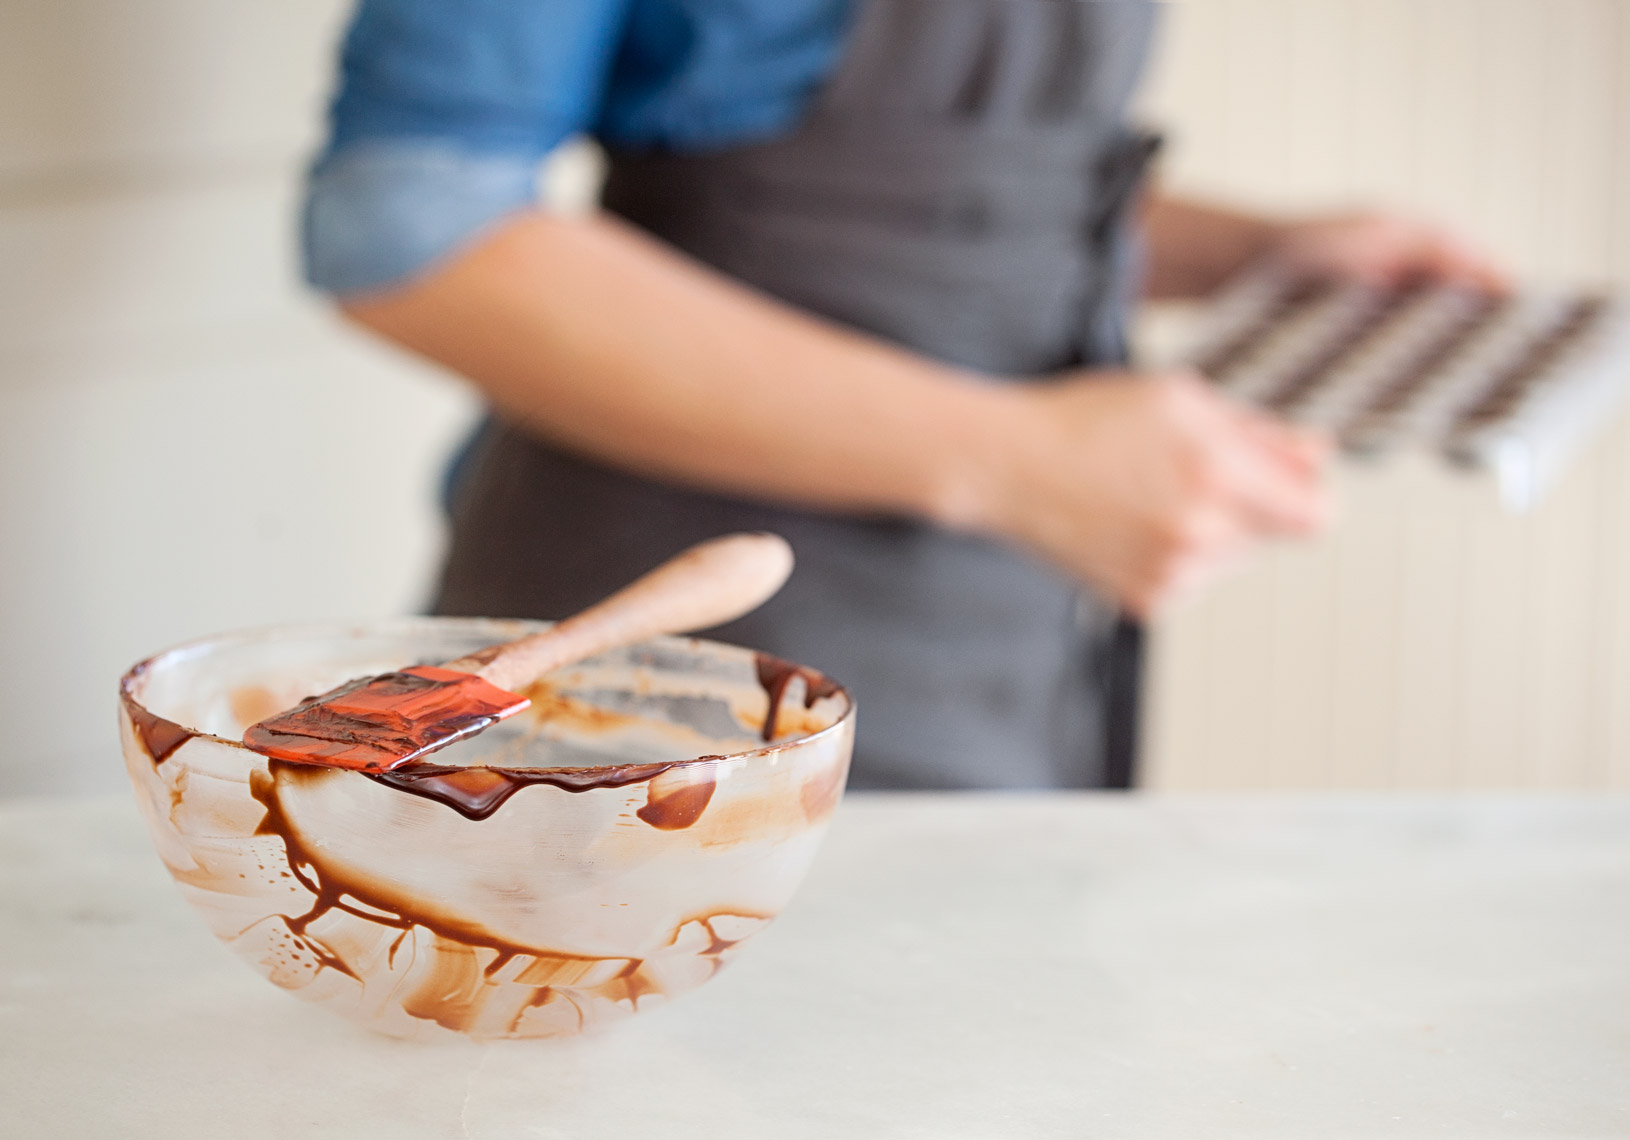
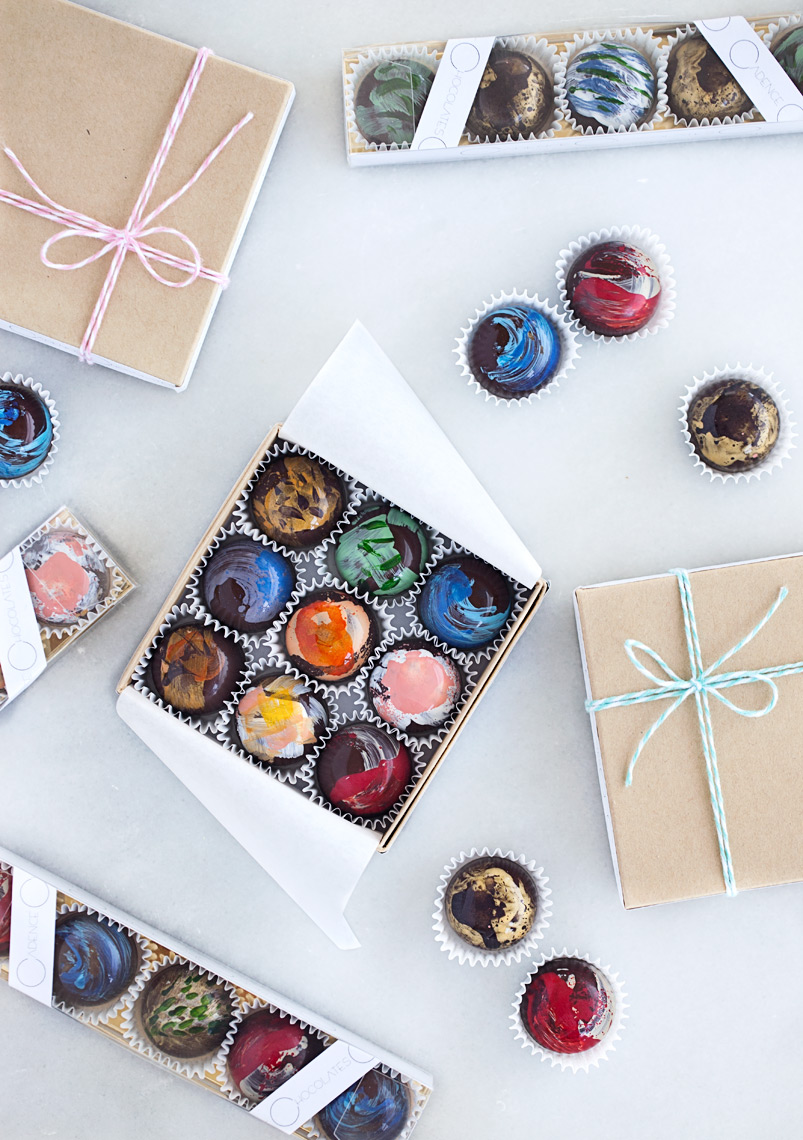
Making bonbons is a multistep process that takes patience, time, and skill. The short of it is:
- Polish
- Paint
- Temper
- Shell
- Fill
- Cap
- Unmold
- Repeat
Read on to learn more and feel free to ask questions in the comments.
Polishing
Making bonbons (molded, filled chocolates) at Cadence Chocolates starts with polishing the polycarbonate molds. My old pastry chef at Commis liked to use glass polishing cloths, the same sort used by front of house to polish the myriad of wine glasses patrons used, because they don't damage the plastic or leave any fibers behind. Other pastry chefs I've worked with use cotton balls/squares and I've heard of some using a spritz of vodka to ensure 100% cleanliness, though I haven't tried the alcohol technique myself. It's a tedious task, livened up by Netflix if I'm all by myself.
Painting
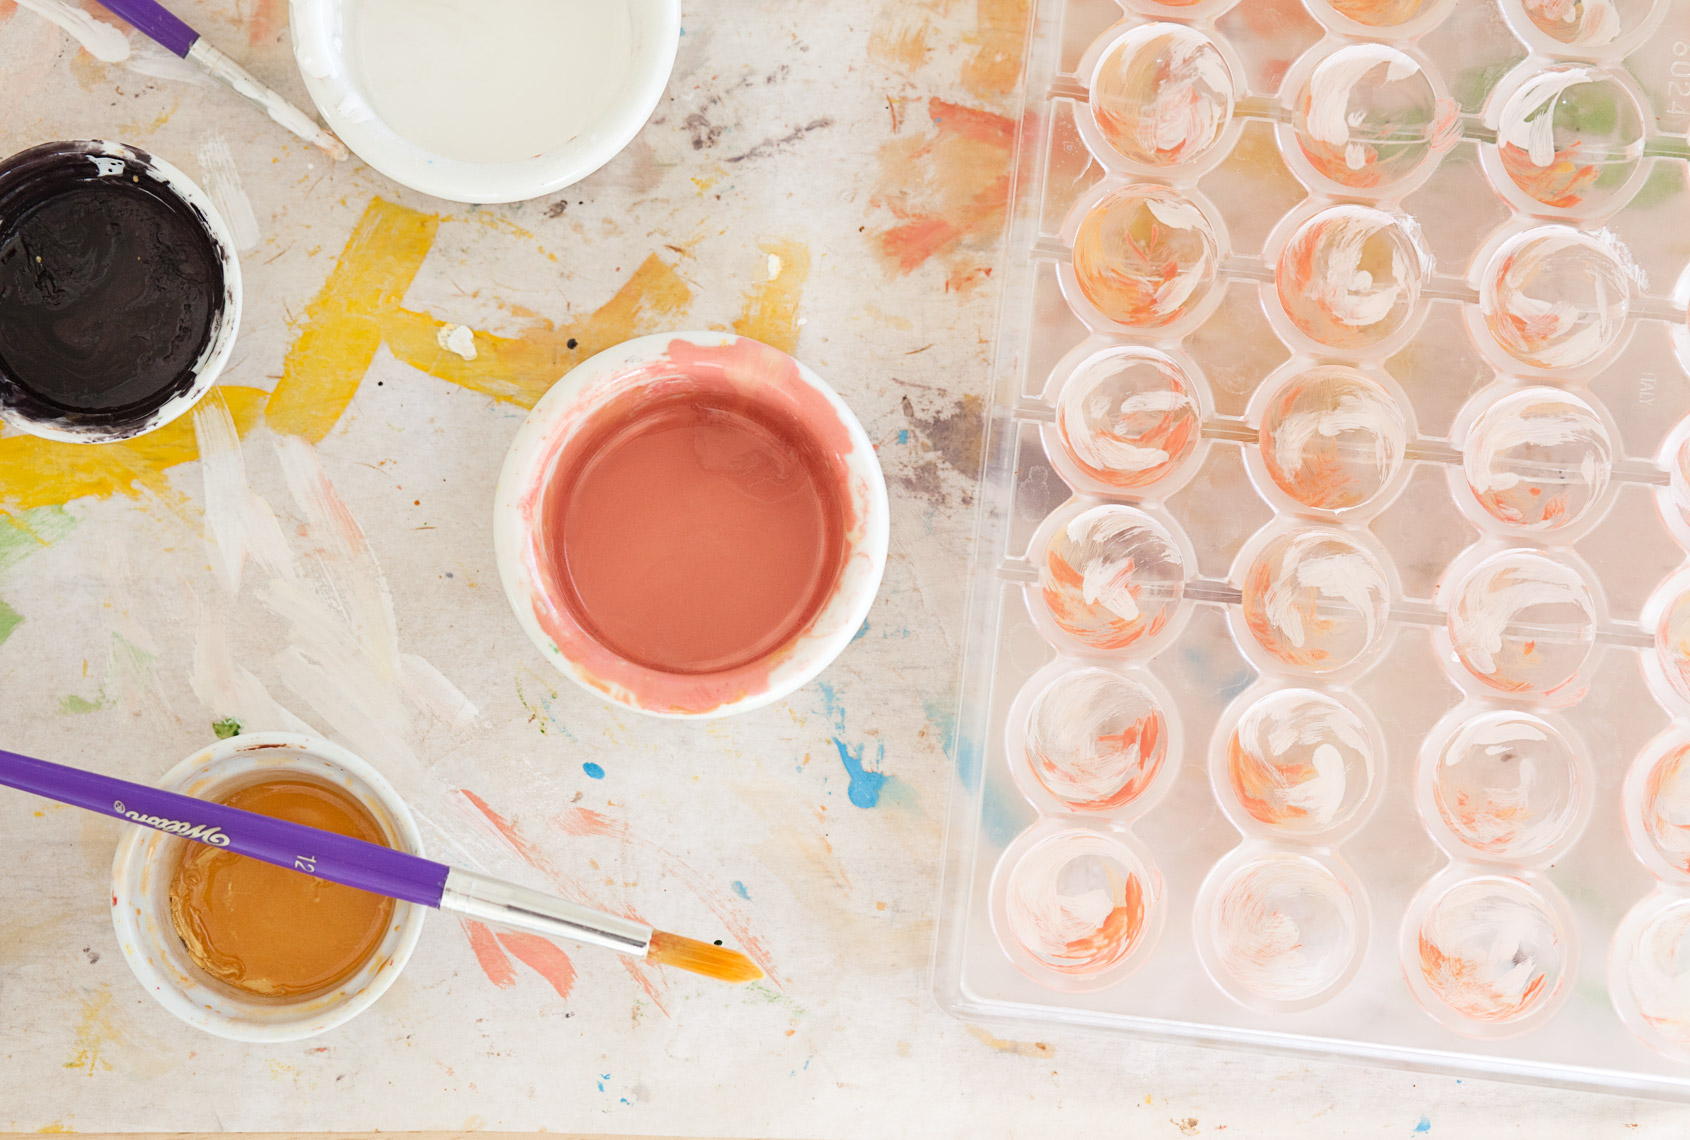
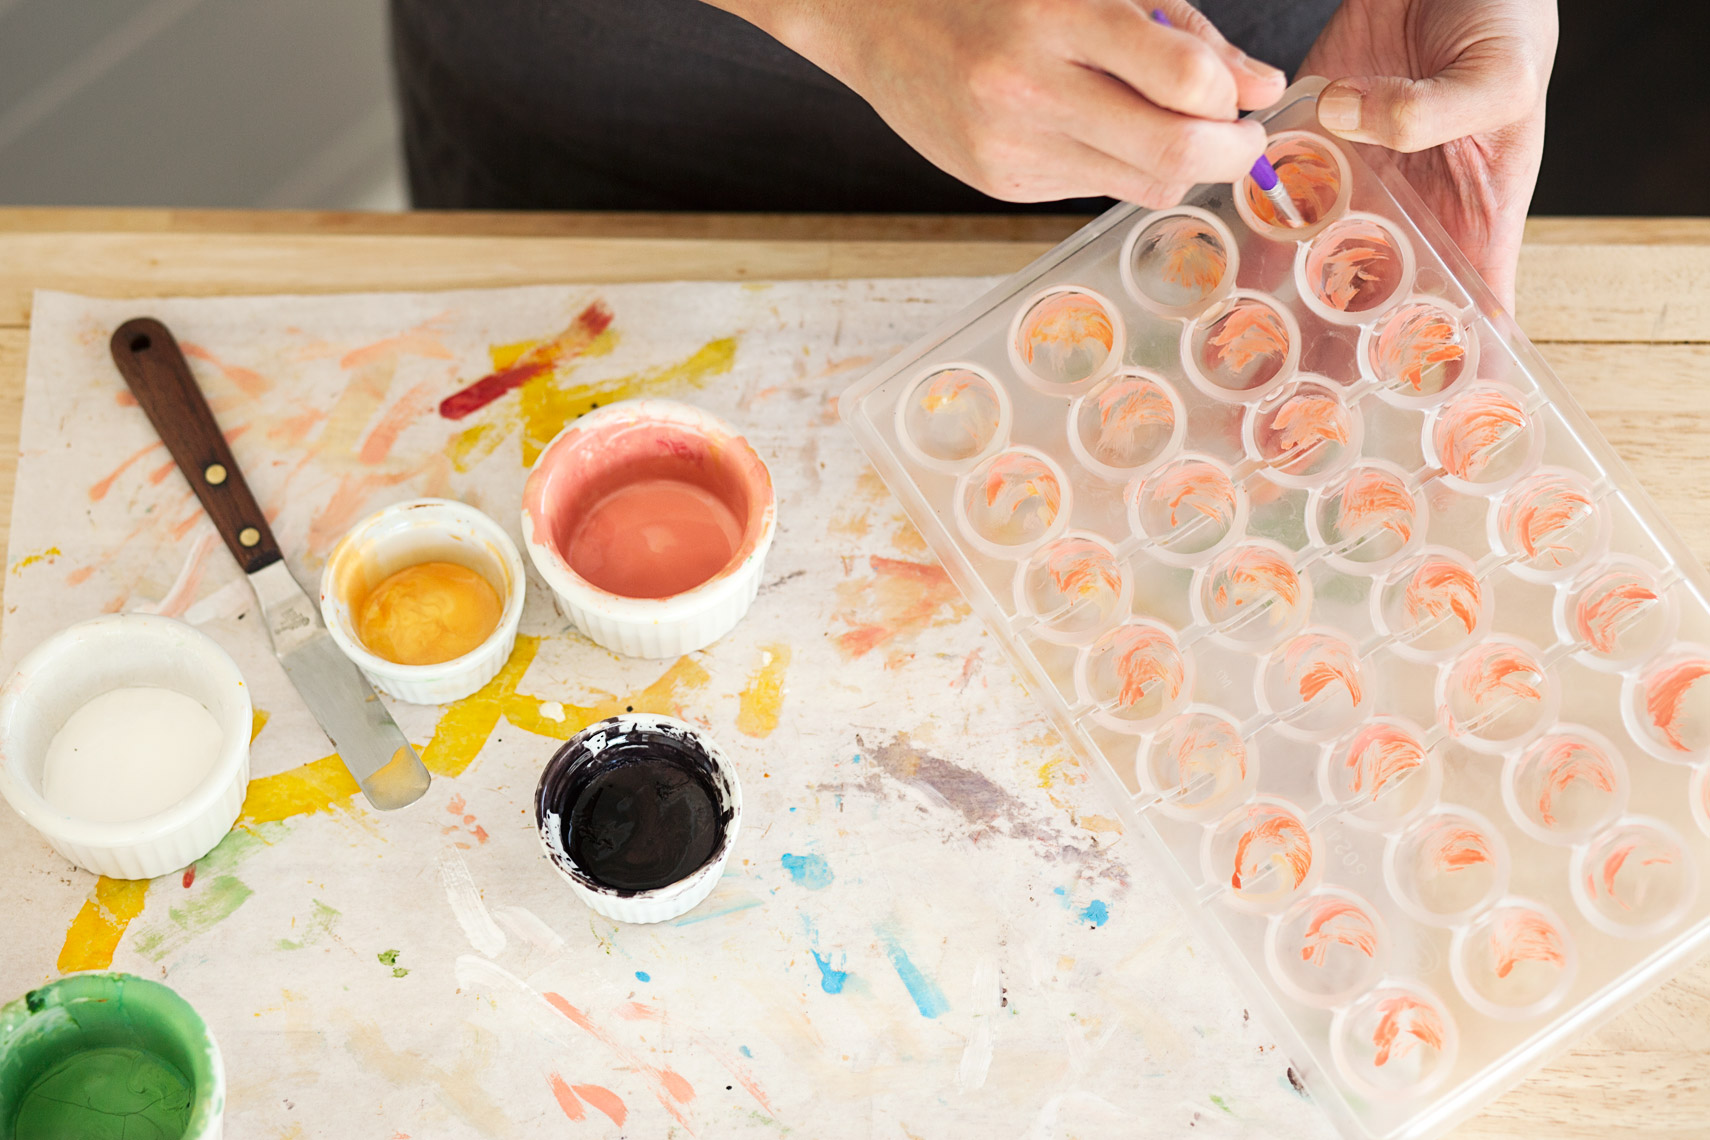
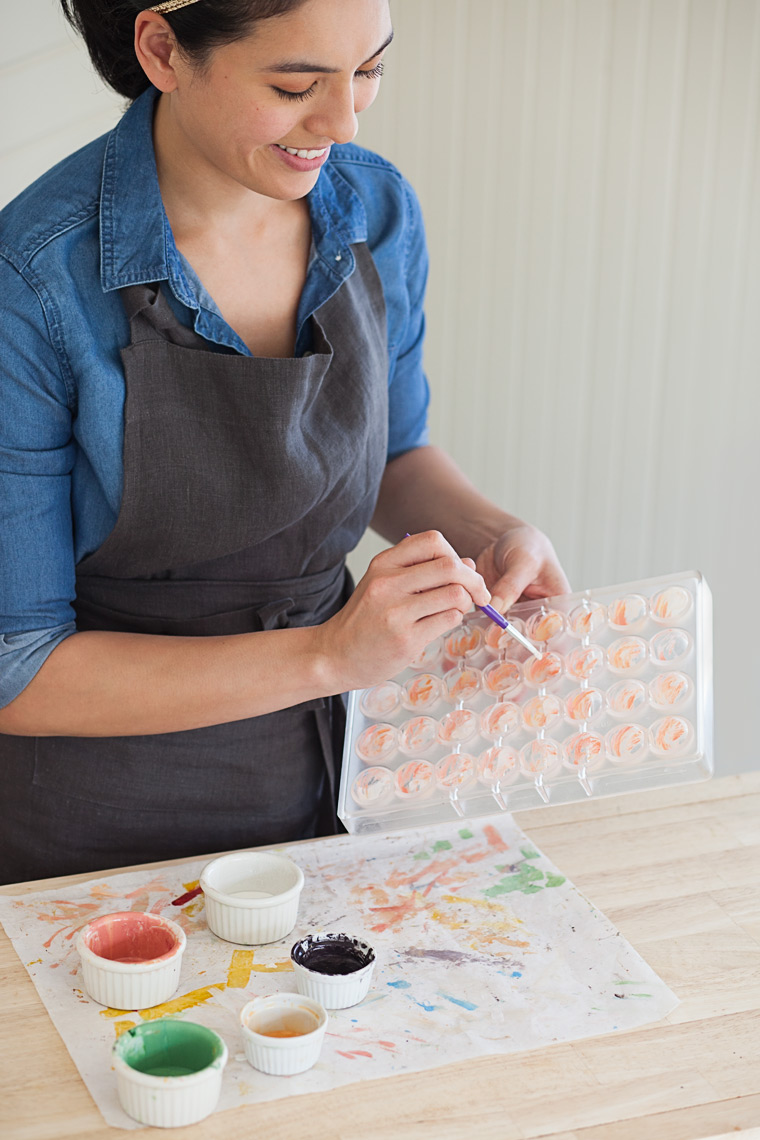
This is one of my favorite things to do. Colored cocoa butter, like tempered chocolate, must be maintained at a specific working temperature, otherwise you run the risk of dull looking chocolates or cocoa butter that sticks to the molds instead of your hard-won thin chocolate shell. I work with a heat gun in between bouts of painting to keep my temperature more or less constant. There's a bunch of techniques that can be employed; many chocolate brands use an airbrush to achieve an even coating, patterns, or a gradient, but I currently finger paint or utilize various manual brush techniques to create my designs. Paint brushes, makeup brushes, toothbrushes, offset spatulas, and gloved hands apply colored cocoa butter to each individual bonbon form.
Tempering
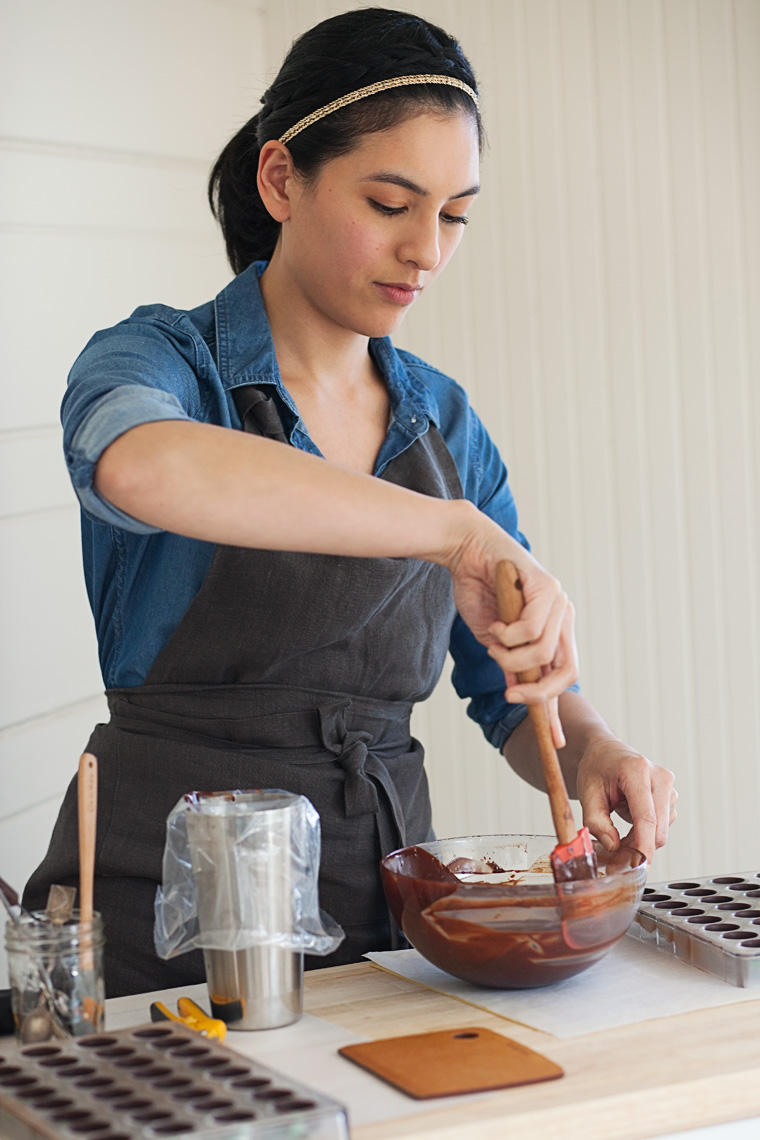
Quite possibly the most crucial step in making molded chocolates is properly tempering the chocolate. Tempering involves taking chocolate through various specific temperature phases to introduce and maintain the desired cocoa butter crystals. Proper tempering ensures shiny chocolate that has just the right snap. I use the seeding method with dark chocolate, which essentially means bringing about 2/3 of my chocolate to 50C, adding my reserved 1/3 of fresh chocolate (purchased tempered, which means it has the right crystals already), and stirring until they melt and my temperature is 32-34C. At that point, I remove any excess unmelted chocolate, stir occasionally until it's 28.5-29C, then I gently start bringing the temperature back up to 32C, my working temperature. Once it's at 32C, I'll take tests of the chocolate (throw chocolate lines on a spatula) to see how it sets and ensure it's ready to go. After that, it's all about maintaining the temperature at 31.2-32.8C, working clean, and avoiding solidified chocolate buildup on my equipment. I'll also use powdered cocoa butter to temper for smaller projects and capping.
Shelling
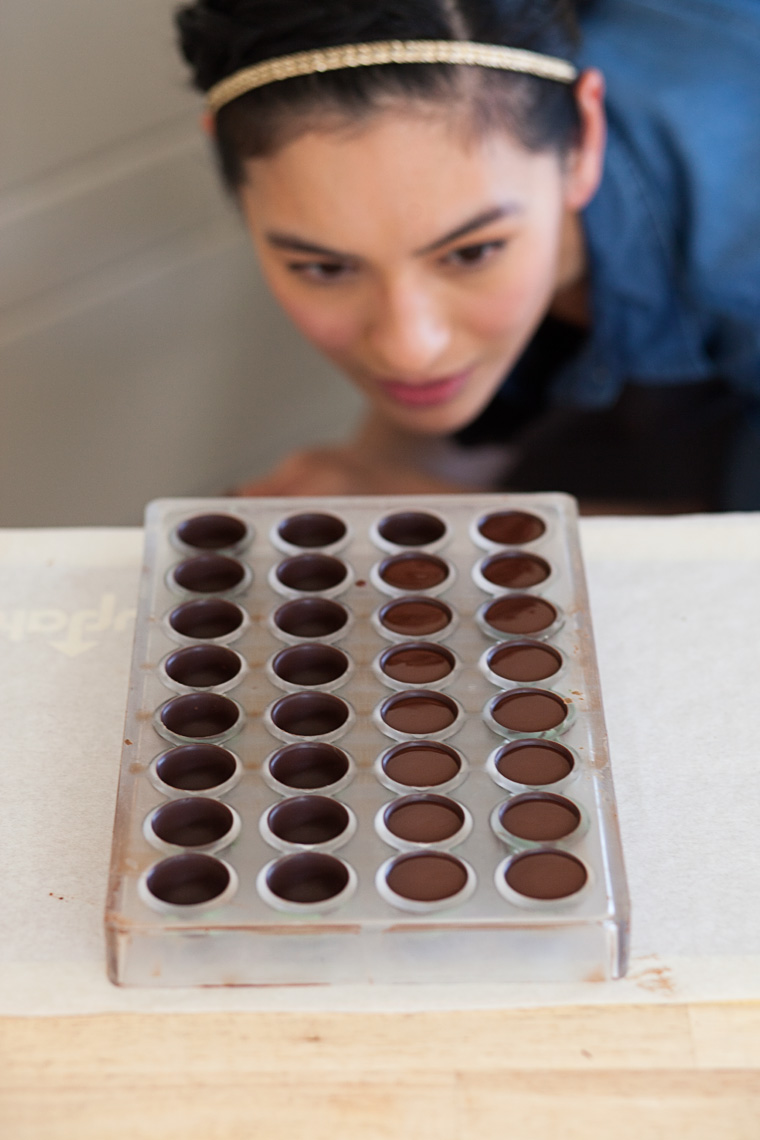
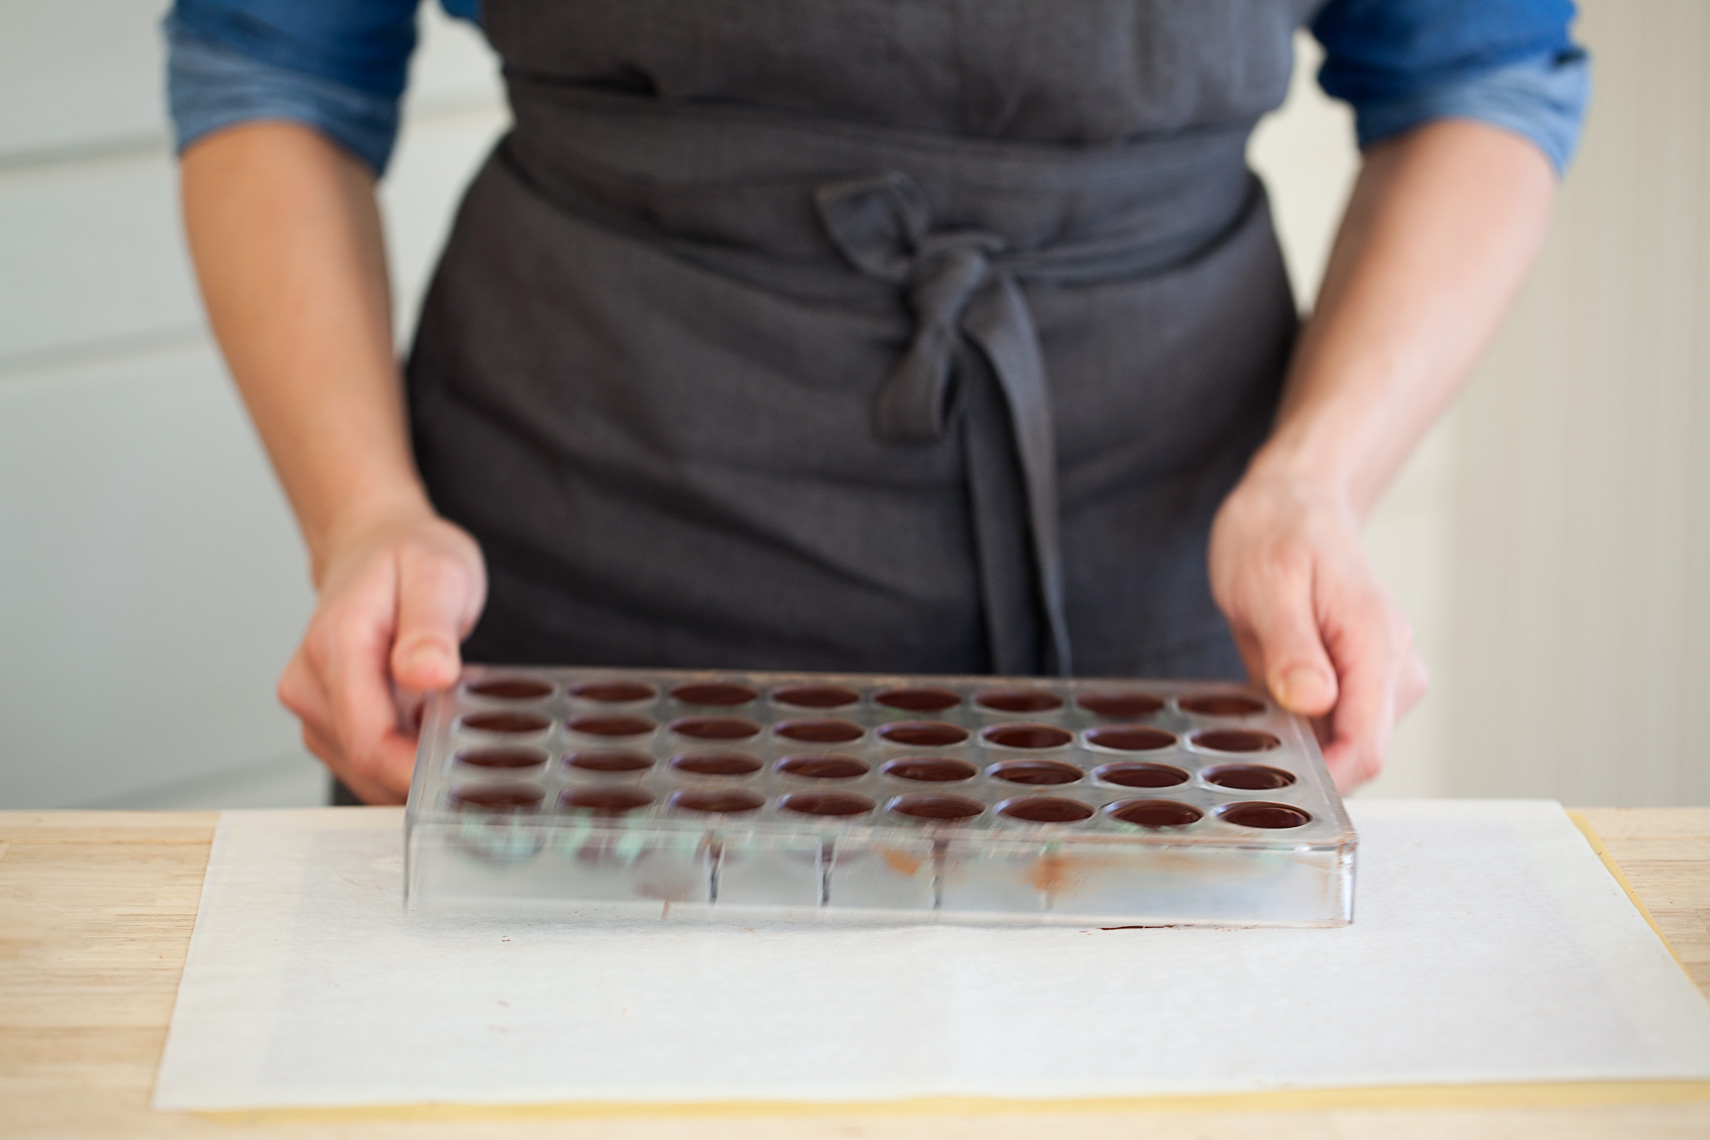
Shelling is filling the molds with tempered chocolate, vibrating them to remove air bubbles from the surface of the molds, and dumping out any excess so that only a thin chocolate coat remains. This step takes a lot of care, not only to maintain the temper of the chocolate, but to get the shell to be thick enough to contract properly from the mold but thin enough to have a pleasant bite. Too thick shells are clunky, too thin shells are brittle. I prefer a medium-thin shell, so it's clearly recognizable with a little "snap" when you bite into the chocolate, but it's not disruptive or difficult to get through. The chocolate shell must fully set (harden) before it can be filled.
Filling
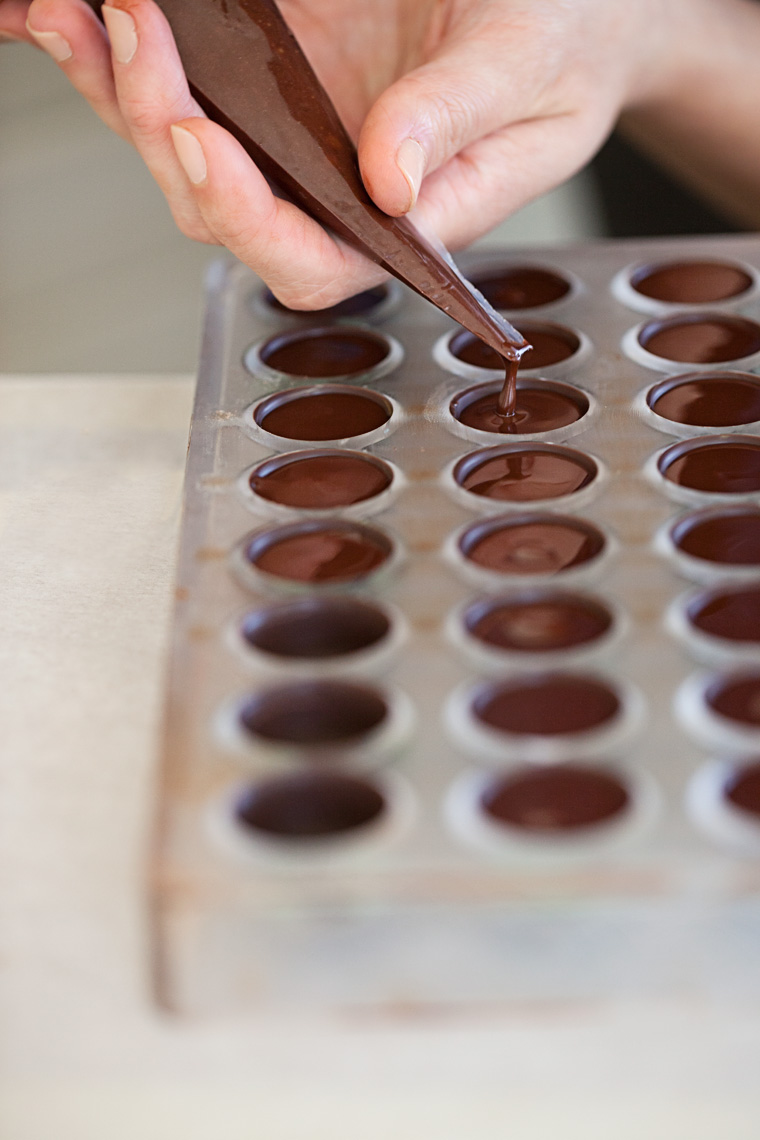
At their most basic, my fillings are made with cream, chocolate, and sugars. They're often flavored with herbs and spices, teas, fruits, or alcohol. Occasionally, we'll add a jelly, marshmallow, or other inclusion, but for the most part, it's a flavored ganache. Ganaches are an emulsion, wherein cream acts as the water component and is emulsified into the fat component, chocolate. Traditionally, cream is scalded (brought to just boiling), poured over chocolate pieces (which are tempered and solid), and blended together with a good amount of stirring. I like to have my chocolate partially melted and layer solid chocolate on top, then add my warmed liquid about a third at at time with a hand blender and rubber spatula. People use all sorts of tools to bring together ganaches, from whisks to regular blenders. Here, it's also important to keep your temperatures controlled; too cold or too hot and your emulsion simply won't come together right. Once my finished ganache is at 32-33C, I pour it into a piping bag and pipe it into my shelled molds, leaving about 2mm of space at the top.
Capping
To cap the bonbons, you need to temper more chocolate to add on top of the ganache to create a seal. This is why leaving a little space in your shell is important, but too much space leads to a clunky bottom that's not pleasant to bite through. Once your chocolate is tempered, gently warm your mold and nearly finished bonbons with a heat gun to allow for a good seal and to give you a little more time to work with your liquid chocolate. I ladle a small amount of tempered onto one end of my mold, drag a scraper at about a 45 degree angle across to cleanly pull chocolate into the molds, clean up the sides of the molds, vibrate them again to remove air bubbles, and then scrape once more at a 90 degree angle to clear away excess chocolate (and clean once last time).
Unmolding
Unmolding is delightful (or frustrating, if the previous steps didn't go quite right). Once the cap is set, you can crack it like an ice cube tray and invert the mold, tapping or smacking the edges of the mold to release the finished bonbons. If there are any stubborn chocolates, you can place the mold in a freezer for a couple minutes at a time to coax the shell to contract enough for easy removal. Unmolded chocolates can be packaged or wrapped up airtight for future use.
Repeat
Once your chocolates are all released, you can gently clean your molds and start all over again with Netflix and polish.


